Windows 10 is the latest version of windows by Microsoft. All, the Microsoft products are always in high demand, especially after launching the windows which are the trend in OS industry since its first launch. Such marvelous, user-friendly and interactive features make people excited to use more of it. People eagerly await their updates.
At this current time, Windows 10 has taken the reach of all the previous versions. It has over billions of users worldwide. Windows 10 has more features and interactive interface than previous versions. One of the trend term people searches is how they can take a screenshot on windows 10. Here are few ways to do it:
Using Keyboard Shortcuts
The Initial and common way we look to take Screenshot on Windows 10 is by using keyboard shortcuts. To perform this action you probably need to know shortcut keys to make this happen:
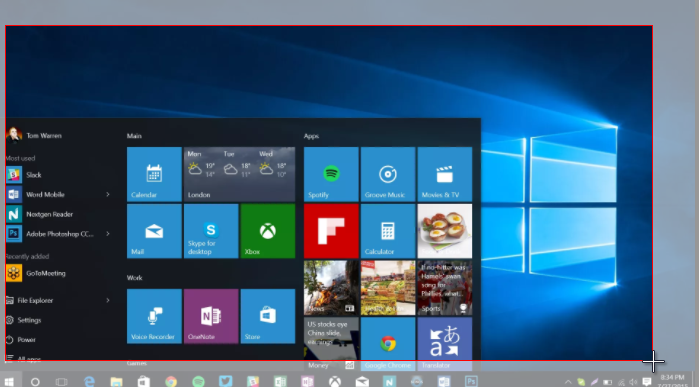
Windows+PrtScr: On windows 10 you can take a screenshot by pressing the windows key and Print screen key simultaneously. The screenshot will be saved under My Computer/This PC>>Pictures>>Screenshots.
Windows+H: By Pressing these two keys simultaneously. It will open the share screen where you will see the share options such as Mail, Cortana Reminders, Feedback Hub and all other application wherever you are allowed to share images. You can’t see the taken screenshot but if you choose the share option then it will show you the screenshot under that, where you can share it.
Alt+PrtScr: This option will save the screenshot in cache, you can’t view it until you paste it into the editor somewhere. You can paste it on WordPad, Ms office or any other image supported editor.
Using inbuilt Tool
Window 10 has an inbuilt tool to capture the windows, which is known as Snipping Tool. You can simply search it on the windows 10 search bar which is placed besides the Windows icon.
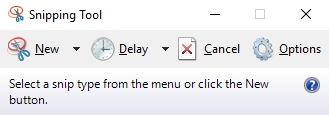
Features you will get with Snipping tool:
- You can take Rectangular snip, free-form, Windows and Full-screen snip using this Snipping Tool.
- You can set the delay time to take the snip of the screen.
- For later edits, it gives you options like, draw by pen and highlighting the snipped image area.
Using Third-Party Tool
To take a screenshot on windows 10 you can also, use third-party tools and software. The main reason of taking a screenshot using such tools is that they give you more options to do later editing on the screenshot. There are a bunch of software tools available for this, below given the best one:
Greenshot:
Greenshot is the tool which is very lightweight but advanced enough to use. Use this link to download Greenshot.
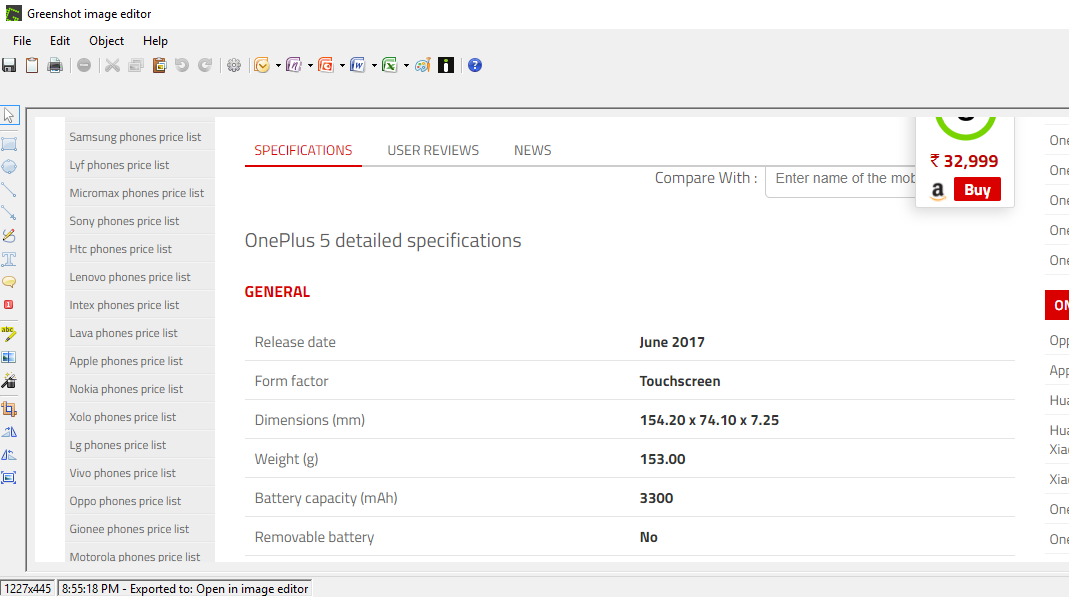 Greenshot gives you features to take the screenshot just by pressing the Prtscr button. You can snip your screen from there. Right after done snipping the windows it will give you the option to save it or share it with other applications. You can even upload the screenshot to imgur from there. Greenshot is a free, very easy and simple to use.
If you choose to open the snipped shot in image editor it will show you a bunch of editing option on that.
These are three easy and simple ways explained above to take screenshot in windows 10. You can use any of them with no cost for obvious. If one method will not work for you, switch to other one.